Wednesday 31 October 2012

Tried and Tested Tip Number 19 [Thread Storage]


Do you have storage issues with all your sewing threads? Whilst I used to keep most of my threads in a couple of clear glass jars, there were some which always seem to be missing, and I would always want the one at the bottom!


So at the weekend, I asked my Dad for one of his spare type cases. It is a bit rough around the edges, but I love that charm to it, and knowing that it has been well used!


I love having all my threads accessible, and so easy to see what I want...


And it fits my lovely sparkly threads!


No more hunting for my spools either!


Oh, and it provides somewhere to keep my Dad's woodblock type safe!


OK, I realise not everyone has a Dad with spare type cases in the garage... But thankfully there is a place called eBay, populated with people who do have spare type cases! So if you're looking for somewhere to store your threads, bobbins, thimbles... or mini rolls of tape, buttons and odd woodblock letters, I really recommend having a hunt around. I think my nephew even has one for his lego figures! Shades of brown not your colour? Make it into a project, and paint it to fit your room!

Tuesday 30 October 2012

Mr Sock Owl


Well would you believe it - another little sock owl has just fluttered his way in to existence!


This one? As a thank you to someone who has helped me a lot over the past few years. I think this owl will have a snug little home on the back seat of his car...


... just watching the world go by :)

Sunday 28 October 2012

The Younger Years VII

I loved making paintings like this as a child. Loading up one half of a piece of paper with splotches of paint, folding it whilst it was still wet, feeling the paint splurge out, and then peeling it back to see the pattern. (And often shouting, "butterfly"!)


I created this one when I was 3 years old. It's interesting to stare at it for a while and wait as my brain creates images from areas of shadows (there's a gummy bear stood in the middle, right?!) What I do find interesting though, is the texture created in the paint as it has splurged [technical term!] That would be really interesting to recreate when working on a textural based piece of art.


I assume I created this at a similar age. What I find interesting is that it hasn't been one simple layer of paint before folding, but that some paint has dried and other areas have transferred. My brain initially perceives it as a simple paint and fold, but the green splodges deny that.

It's totally a butterfly, though.

Wednesday 24 October 2012

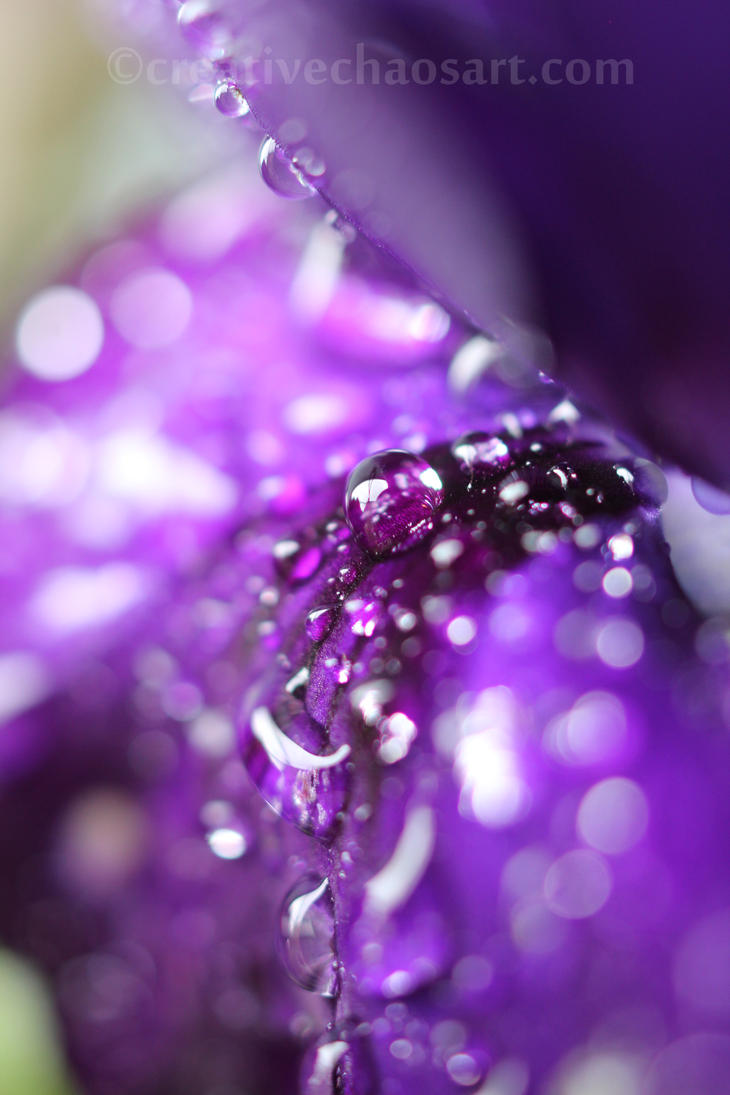
Purple Orb


| Canon EOS 550D (Rebel T2i) | Tokina AT-X M35 PRO DX AF 35mm f/2.8 Macro |

Saturday 20 October 2012

Inspire: Albert Seveso Ink Photographs


I think these are some of the most beautiful photos I have seen in a long time. They are just stunning.


I really need to find an opportunity to create photos like this. To take high speed photographs, and capture beautifully stunning moments. I suppose until that time comes, I can just think about the possibilities of what moment in time to capture!


I especially love the shapes the ink is forming, and the metallic effect really enhances the photos by catching the light. Mesmerising.

Found via Colossal, see lots more stunning images here.

Wednesday 17 October 2012

Tried and Tested Tip Number 18 [Fork Pom Poms]


Believe me when I say I wanted to love this fork pom pom tutorial floating round the internet. The traditional cardboard ring can be a bit of a faff, and this seemed a great alternative.

[source: Eskimimi Makes]

Having tried it? I'm just not that impressed. A cute little craft, yes. But they are not the best pom poms ever made, partly because it is so difficult to tie the middle string tight enough when the wool is wrapped around a fork!


If you do give it a try, I have 3 tips:
1. Wrap the wool around the fork as "on top of itself" as you can - a narrower area means you can tie the pom pom tighter.
2. If you wap the wool round a bit looser, you can fit your scissors in whilst it is still on the fork, making cutting easier.
3. Your pom pom will not come off the fork looking perfectly spherical. You will need to trim, trim, trim!

[Experiment with different wools - I have used chunky, double knitting, 4 ply, and a very fine wool here.]

There are lots of great uses for mini pom poms though, whatever method you use. I can just see these looking delightful on top of a present :)

Monday 15 October 2012

Mini Hugs Canvas


I picked up a packet of these mini 7cm x 7cm canvasses a long time ago now, just waiting for an opportunity to come along for their use! They make for a lovely quick project, and I really enjoyed making this!


I created the background using a sponge and acrylic paints. I added the pattern by sponging over some of the netting that fruits come in - I have always loved this effect!


I actually used a silver marker for the writing, as it was the easiest way when working on such a small canvas! Perfect for a little space on your wall :)

Sunday 14 October 2012

Printers Cloths


You may remember earlier this year I made a selection of Printer Cloths for my Dad? Well, he loved them so much he asked me to make a few more sets for him!


I decided to mix things up and create a blue set as well, but I used all the same designs. I'm so happy with them! But it's also nice to now have a break from fiddly stitching for a little while ;)


Find loads more info on making these on my original post!

Saturday 13 October 2012

The Younger Years VI


I vividly remember going through this "collage" phase in the mid nineties. I would just collect anything I could find and add it to my paintings to create masterpieces! Simple things such as kitchen roll, newspaper and string; but also other things such as tinsel, wool, shredded paper, party popper innards, milk lids and bottle tops.


It's weird how some things we remember so vividly. I still enjoy collage though. I worked a lot with mixed media for my A levels, experimenting with creating different textures - I'll try and share some of it with you soon. I think being allowed to experiment early on can really set a person up well to experiment when they're older, and to think outside of the box the world wants you in.

Regulars on my art desk nowadays include filler, silicone sealant, different sponges, sandpaper, chicken wire and remnants of packaging. They can all add different effects and textures to any piece of art, it's all about simply trying things.

Wednesday 10 October 2012

Inspired Photography

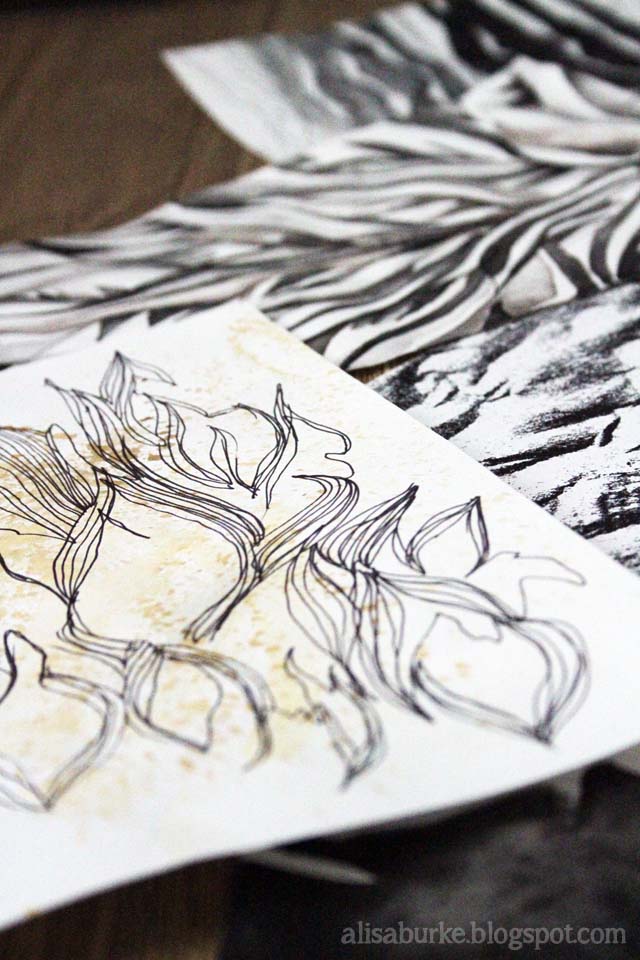
Following on from Inspire: Sand Study, I actually went out on Saturday and took some photos of clouds, rocks and sand. I haven't had much chance to work from them yet, but I thought I'd share some initial sand study photos and drawings!


They are just quick sketches, but were fun to do! I especially love the last one, and think it makes a lovely Photoshop brush, great for patterns...


Hope to do more soon :)


Saturday 6 October 2012

Inspire: Sand Study


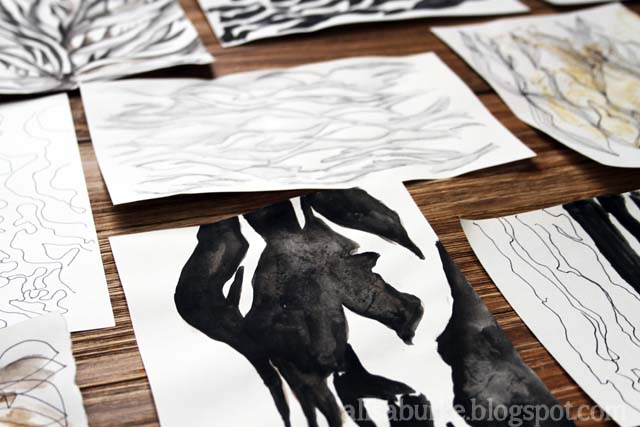
Alisa Burke recently shared a post entitled Sand Study... A series of photos she had captured on the beach, followed by a series of art works she had created.

[source

I love the designs and patterns she saw in the sand, and how she has translated it on to paper. It shows such freedom of expression. I think I need to gather my photos of sand, clouds, trees, waves etc, and have a go myself!

Do go check out the original post, to see both her original sand pictures, and more drawings!

Wednesday 3 October 2012

Tried and Tested Tip Number 17 [Satisfying Cleaning]


Can I let you in on a secret? I cause chaos wherever I go. I blame it on my creativity...

After I had finished making and decorating my recent stab stitch bookbinding project, my cutting mat was a mess. It was covered in bits of glitter, offcuts of ribbon, scraps of paper, ends of wire and thread, and even bits of tape and angelwire.


Obviously, I could have just brushed it on to the floor in to the bin, but I discovered a much more satisfying method!


It's called a Lint Roller. In the UK they're generally sold in most supermarkets, primarily marketed at removing fluff from your clothes. But, one simple roll across my work surface...


And the roller was covered, and my board clean!


You can continue to reuse it until it is no longer picking up properly, then simply peel away a layer and you have a fresh new sticky surface! I seriously find this so satifying - the rolling, seeing it pick everything up (especially the glitter!!), then the brand new clean sheet... Sigh :)

Related Posts Plugin for WordPress, Blogger...